How to Tie a Furoshiki
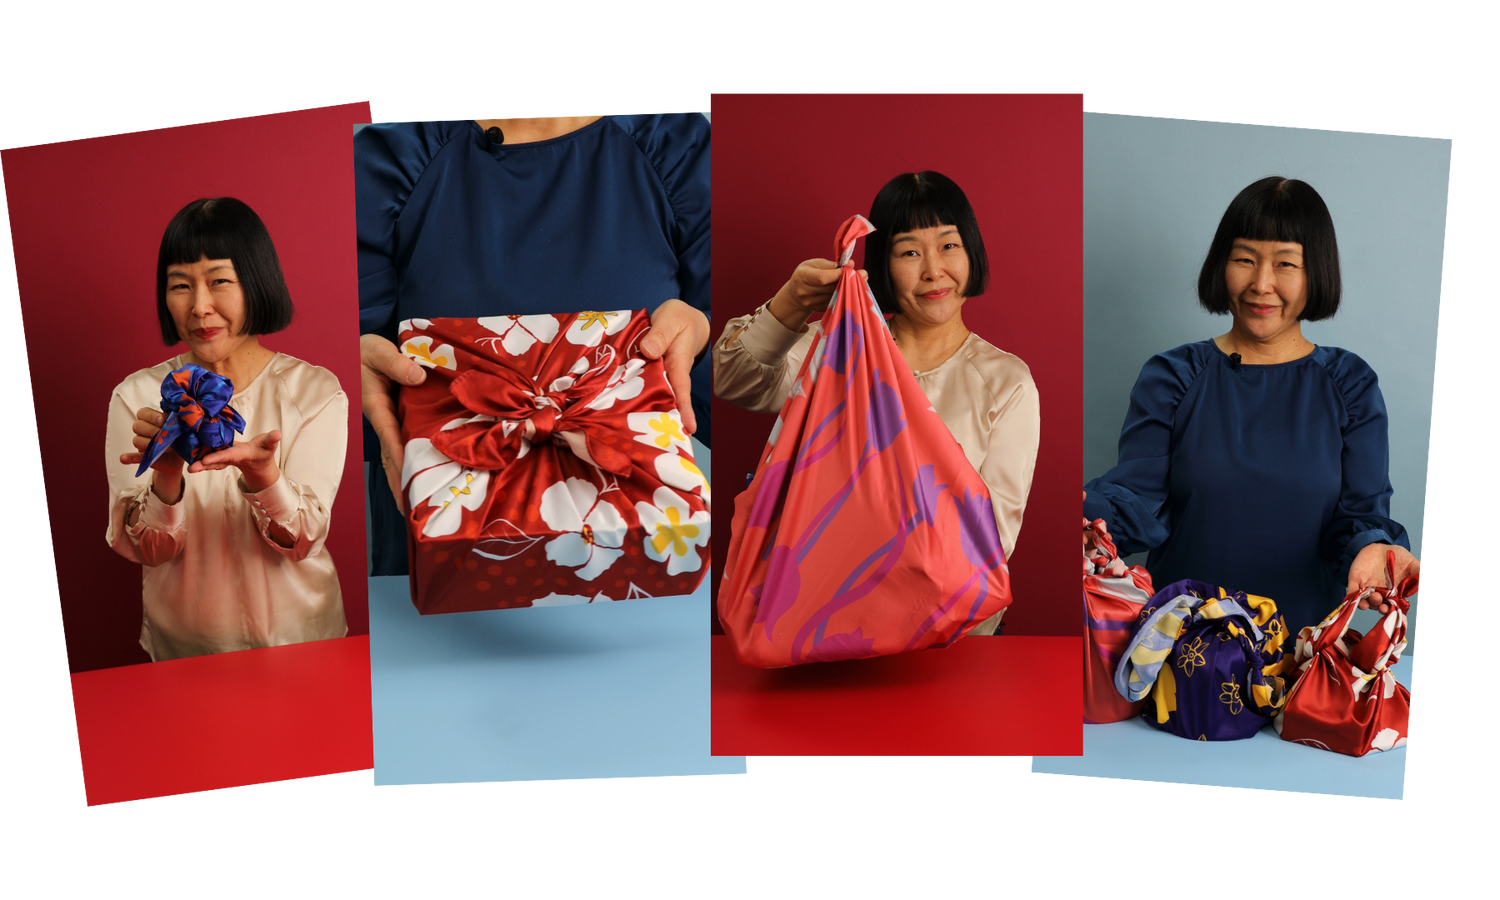
Furoshiki is a traditional Japanese wrapping cloth that has been used for centuries to carry and transport items of all shapes and sizes. The cloth can be used to wrap gifts, transport groceries or other items, or even as a fashionable accessory.
One of the greatest benefits of furoshiki is its versatility, as the wrapping technique can be adjusted to fit the item being wrapped. On this page, we will explore the basic techniques of how to tie a furoshiki.

Watch all our tutorials on YouTube!
Browse the tutorials below or head over to our YouTube channel to watch over 100 unique videos and Shorts.
The Fundamentals of Furoshiki Wrapping
Welcome to our ultimate guide to furoshiki wrapping tutorials! This collection of 25+ step-by-step video tutorials will introduce you to the versatile and beautiful art of furoshiki, the Japanese technique of fabric wrapping. From basic knots to intricate designs, these tutorials will help you discover a range of wrapping techniques perfect for gift-giving, carrying essentials, and eco-friendly decoration.
Getting Started: Furoshiki Basics
Before you dive into the tutorials, here are a few basics to ensure your furoshiki wraps look their best:
1. Choose a Clean Furoshiki: Start with a furoshiki that’s free of wrinkles or stains for the most polished results.
2. Pick the Right Technique: Select a technique appropriate for the size, shape, and purpose of the wrap.
3. Select a Complementary Design: Pattern choice can add meaning or style. Japanese-inspired motifs, floral patterns, or bold designs can make your wrap feel extra thoughtful.
4. Fold with Care: Lay the fabric flat with the pattern side down before placing your item. Make sure the surface and your hands are clean.
5. Master Basic Knots: Secure and elegant knots are key to achieving a professional look. Learn to make a square Mamusubi knot here.
Explore the tutorials below to start mastering these skills and discover beautiful ways to make furoshiki part of your everyday life!
Furoshiki Wrapping Tutorials
-

Start Here: How to create a perfect knot
Watch tutorialThe Mamusubi, or true knot, is the starting point of a beautiful and strong furoshiki wrap.
-

Yotsu Musubi
Watch all the musubi-style tutorialsThe classic 4-knot wrapping style for any square or rectangular box.
-

Ribbon Tsutsumi
Watch tutorialElegant style with a bow in the corner. Great for books, rectangular items, and flat items.
-

Hana Tsutsumi
Watch all the musubi-style tutorialsA variation of the Yotsu Musubi, Hana Tsutsumi turns the four corners into a flower topper.
-

Katakake Fukuro/ Tesage Bukuro
Watch all the Tesage Bukuro tutorialsA simple bag with a two hidden knots and a large handle.
-

Classic Bin Tsutsumi
Watch all the Bin Tsustumi tutorialsThe most classic way to wrap a bottle of wine, spirits, or anything in a standard bottle.
-

Simple Tesage Bukuro
Watch all the Tesage Bukuro tutorialsMost simple bag tutorial with a few quick knots.
-

Hon Tsutsumi
Watch two Hon Tsutsumi tutorialsThe technique for wrapping two items of identical size. Includes a variation with a flower bow topper.
-

-

-

-

-

Kinchaku Tesage Bukuro
Watch all the Tesage Bukuro tutorialsFuroshiki style with two drawstrings and handles.
-

-

-

Tesage Bukuro with a Bow
Watch all the Tesage Bukuro tutorialsGreat style for books, iPads, and other flat items.
-

Bin Tsutsumi with Handle
Watch all the Bin Tsutsumi videosA variation of the Bin Tsutsumi technique with a handle.
-

Bin Tsutsumi for Two Bottles/Cans
Watch all the Bin Tsustumi videosA Bin Tsutsumi variation for 2 bottles or cans.
-

Kakushi Tsutsumi
Watch tutorialClever technique to make a furoshiki work on an item that is slightly too large.
-

Suika Tsutsumi
Watch tutorialSuika Tsutsumi or "watermelon wrap" is perfect to transport round items.
-

-

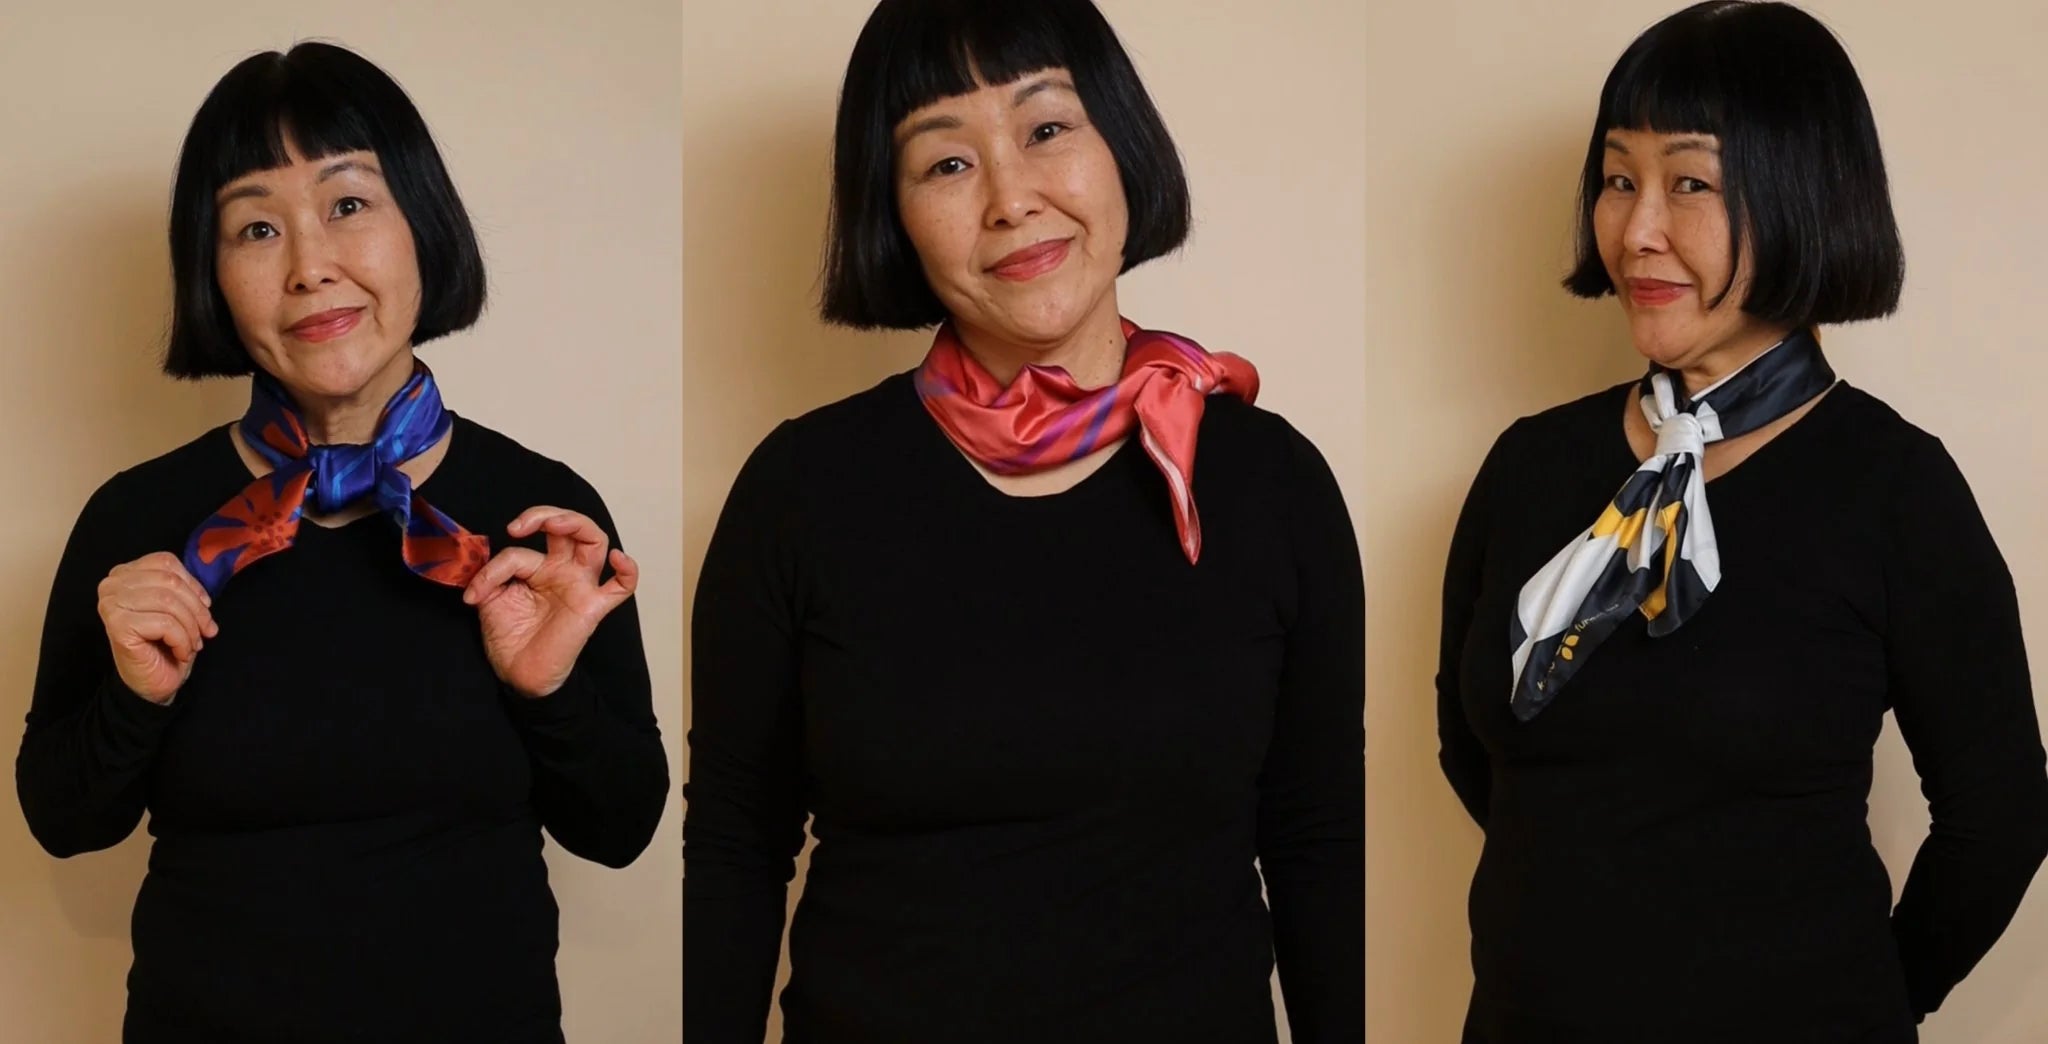
3 Ways to Tie a Furoshiki as a Scarf
Watch tutorialsWatch videos showing 3 different ways to tie your furoshiki as a scarf.
Shop Furoshiki Prints
-

The Garden Collection
Our floral print Garden Collection is full of beautiful, vibrant designs for...
-

The Wagara Collection
Drawing from fond memories of colors and patterns, Keiko developed 8 distinct...


